
















July 13, 2026
The SolaX EV Charger Guide: From Setup to Solar Fuel
Share my #SolaXStory


Watching petrol prices climb can feel like you're losing a game you never signed up for. Every trip to the bowser is a reminder of how much of your household budget is tied to a fluctuating global market. But what if your driveway held the solution?
Imagine turning the excess solar power your home already generates, the same power you sell back to the grid for pennies - into free fuel for your electric vehicle. This isn't a far-off dream; it's the new reality for smart energy management.
This guide is your roadmap. We'll break down exactly how the SolaX EV Charger works as the "brain" of your home energy system, how to choose the right model, and the critical setup steps to unlock thousands of kilometres of zero-cost driving every year.
This is about more than just charging a car; it's about taking back control of your energy costs.
The SolaX Advantage: Why a 'Smart' Charger Matters
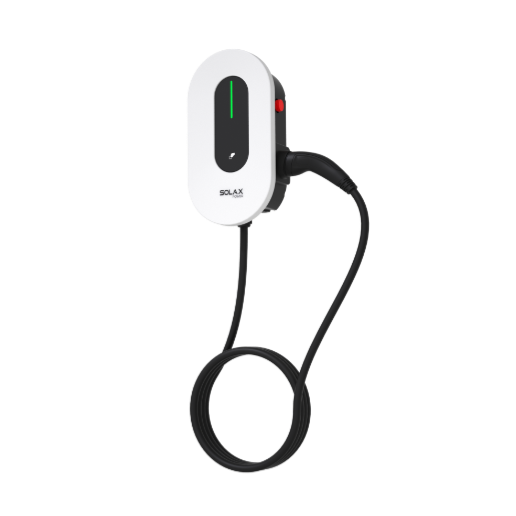
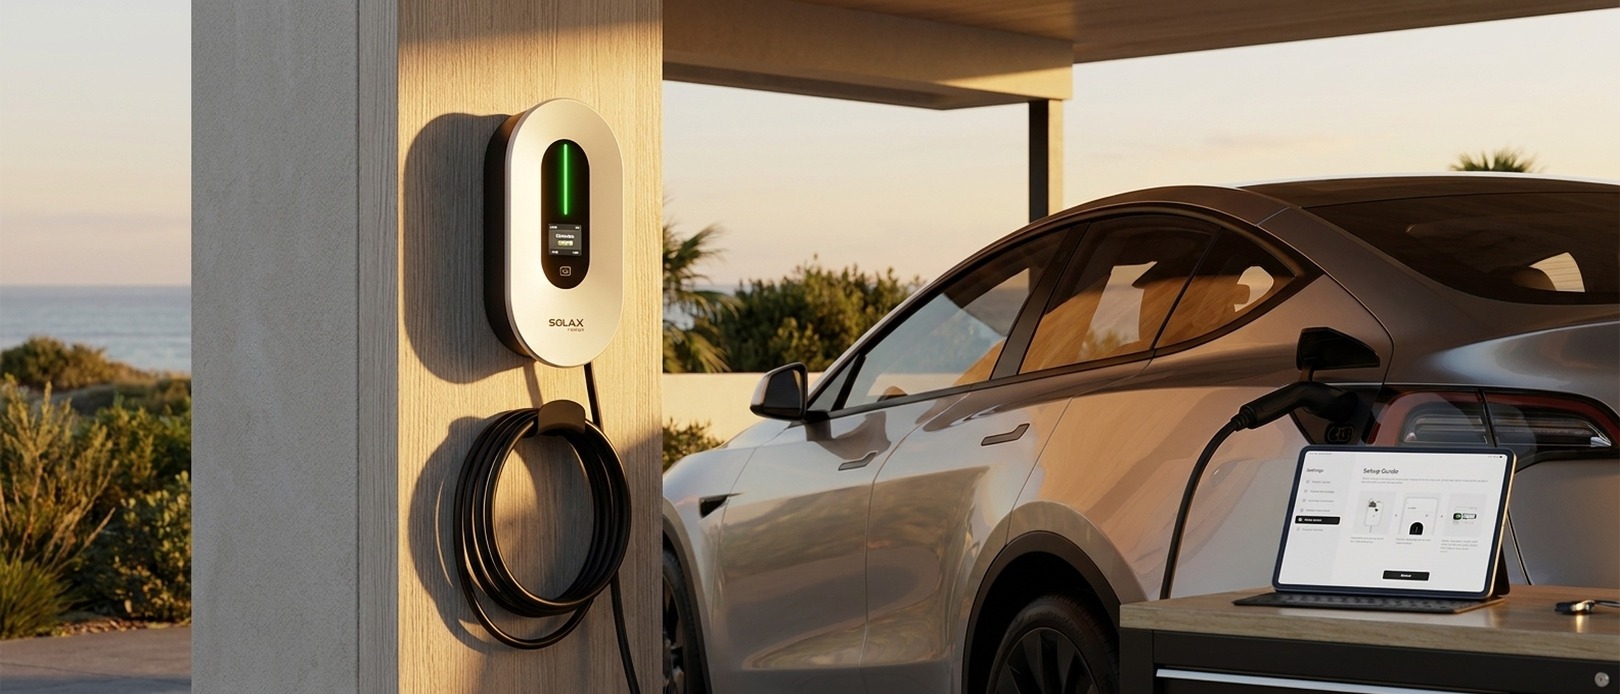
Any EV charger can fill your car's battery. A smart charger, however, decides how and when to do it for maximum savings. The SolaX Smart EV Charger G2 is designed to be the central command for your home's solar energy, creating a seamless, intelligent ecosystem.
Instead of treating your EV as just another appliance, the SolaX system follows a strict priority list to ensure you use every last drop of free solar energy you generate:
Power Your Home First: Your solar panels first run all your household appliances.
Fill Your Home Battery Second: Any excess solar then charges your home solar battery systems.
Fuel Your Car Third: Only once your home and battery needs are met does the surplus power get sent to your EV.
Export to Grid Last: Exporting to the grid for a tiny feed-in tariff is the absolute last resort.
This ecosystem approach is the key differentiator. While other chargers exist, the SolaX charger's native integration with SolaX inverters gives it a speed and accuracy advantage that competitors relying on external clamps can't match.
SolaX G2 vs. The Competition
| Feature | SolaX Smart EV Charger G2 | Competitor A (e.g., Zappi) | Competitor B (e.g., Tesla) |
|---|---|---|---|
| Solar Tracking | Native (RS485) or CT Clamp | CT Clamp Only | Requires Tesla Powerwall |
| Compatibility | Universal (Type 2 Plug) | Universal (Type 2 Plug) | Universal (Type 2 Plug) |
| Heat Performance | Excellent (-30°C to +50°C) | Fair (Can slow in high heat) | Excellent |
| SA Smarter Homes | Fully Compliant (OCPP 1.6j) | Compliant | Compliant |
| Typical Price | Contact installer for current pricing | Contact installer for current pricing | Contact installer for current pricing |
Key Takeaway: The SolaX charger isn't just a plug; it's an intelligent energy manager that prioritises using your free solar power to save you money before exporting to the grid.
Choosing Your Perfect SolaX Charger
Selecting the right model comes down to matching the charger to your home's power supply.
Single-Phase vs. Three-Phase Power
First, you need to match the charger to your home's electrical system. Most Australian homes have single-phase power, but larger or rural properties may have three-phase.
| Model Number | Phase Config | Max Output | Best For |
|---|---|---|---|
| X1-HAC-7 | Single Phase | 7.2 kW | The standard for most Australian homes. |
| X3-HAC-11 | Three Phase | 11 kW | Homes with three-phase power seeking faster charging. |
| X3-HAC-22 | Three Phase | 22 kW | Commercial properties or homes with very high power needs. |
SolaX three-phase chargers feature "Auto Phase Switching." If your solar generation is low, they can cleverly switch to single-phase charging to keep sipping that solar, then ramp back up to three-phase when the sun comes out. This feature alone dramatically increases the amount of solar you can capture.
Key Takeaway: Match the charger's phase to your home's power supply. Every SolaX G2 charger sold in Australia comes tethered with an attached cable, ready to plug in and go.
From Box to Full Charge: Your Setup Roadmap
A proper SolaX EV charger setup involves two key parts: the professional electrical work and the system configuration that you can manage.
The Electrician's Job (The Non-Negotiables)
In Australia, any EV charger installation must be done by a licensed electrician who will provide a Certificate of Electrical Safety. They will handle the critical requirements of the AS/NZS 3000 wiring rules:
A Dedicated Circuit: The charger gets its own circuit from your switchboard.
RCD Safety: The circuit must have specific RCD protection. The SolaX G2 has built-in 6mA DC leakage detection, which simplifies this step and can save you money on hardware.
Correct Integration: The electrician will connect the charger to your system in one of two ways.
Integration Method 1: Native RS485 (For SolaX Inverter Owners)
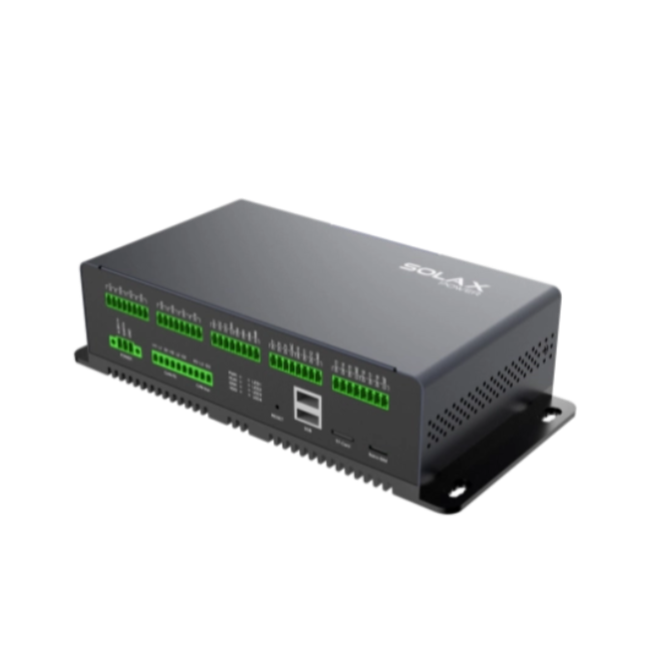
This is the gold standard. A simple data cable connects your SolaX charger directly to your SolaX inverter. This creates a single, unified brain for your entire system, providing the fastest and most accurate solar tracking.
Integration Method 2: CT Clamp (For All Other Inverters)
Don't have a SolaX inverter? No problem. The charger comes with a Current Transformer (CT) clamp. Your electrician clips this small device around your main grid supply cable. It physically measures when you're exporting solar power and tells the charger to absorb it. This makes the SolaX charger universally compatible with any solar system.
Your Job (Getting Connected & Staying Online)
The most common issue with any smart device is a weak Wi-Fi signal, and chargers in garages are prime candidates for dropouts.
A stable network connection is non-negotiable for a smart charger. These three steps solve 99% of connection problems.
If your charger is struggling to stay online, here's your troubleshooting checklist:
Split Your Wi-Fi Bands: Log in to your router and give your 2.4GHz and 5GHz networks different names (e.g., "HomeWifi_2.4" and "HomeWifi_5"). Connect the charger only to the 2.4GHz network, which has a longer range.
Set a Fixed Channel: In your router settings, change the 2.4GHz channel from "Auto" to a fixed channel like 1, 6, or 11. This avoids interference from your neighbours' Wi-Fi.
Go Wired with Ethernet: For a rock-solid connection, this is the ultimate fix. The SolaX G2 has an Ethernet port. If possible, run a network cable from your router directly to the charger.
Key Takeaway: A licensed electrician must perform the physical installation. Your responsibility is to ensure the charger has a strong and stable 2.4GHz Wi-Fi or wired Ethernet connection for reliable smart functionality.
Your Charging Playbook: Mastering the Smart Modes
This is where you take control. The SolaX app gives you three distinct modes, turning your charger from a simple plug into a strategic tool. For full technical specifications, visit the SolaX EV Charger G2 product page.
Green Mode: The 100% Solar Saver
This is the purist's mode, designed to use only free, excess solar power.
How it Works: The charger draws only from surplus solar, reducing charging current as generation drops and pausing automatically if there isn't enough surplus solar available.
Best For: Sunny days when your car is home for a few hours. This is how you achieve truly zero-cost driving.
Eco Mode: The Reliable All-Rounder
Eco Mode prioritises solar but adds a safety net from the grid to guarantee a consistent charge.
How it Works: It uses all available solar first. If the sun isn't enough to maintain a minimum charging speed, it will seamlessly blend in a small amount of grid power to make up the difference.
Best For: Overcast days or when you need to add a decent amount of range but still want to offset as much cost as possible with solar.
Fast Mode: Maximum Speed, Right Now
This mode ignores your solar production and pulls power from both the grid and solar simultaneously to charge at the absolute maximum rate your home can provide.
How it Works: It delivers the maximum available AC charging rate, drawing from grid and solar simultaneously.
Best For: When you arrive home with an empty battery and need to leave again soon, or for taking advantage of special off-peak or "free power window" electricity tariffs.
Key Takeaway: Use Green Mode for maximum savings on sunny days, Eco Mode for a reliable charge on cloudy days, and Fast Mode when speed is your only priority.
Pro Tips for Maximum Savings & Performance
Getting your charger set up is just the beginning. These two tips will help you perfect your system and understand its true value.
Fix the "Overnight Battery Drain" Problem
Note: By default, your home battery sees your EV as just another appliance. If you schedule a charge overnight, your system may drain your expensive home battery to charge your car, leaving you with no power for the morning.
The fix is simple. In your SolaX inverter's advanced settings, find the function called "Battery Charge EVC" (or similar wording) and disable it. This tells the inverter not to use the home battery to charge the car. Your battery will still power your house, but your car will charge from solar or the grid, preserving your stored energy for when you need it most.
Calculating Your Payback
The investment in a SolaX smart EV charger pays for itself by shifting your energy consumption from the expensive grid to your free solar.
An average Australian drives 15,000 km/year. In an efficient EV, that requires about 2,250 kWh of energy.
Grid Charging Cost: At 35c/kWh, your annual "fuel" cost would be $787.50.
Solar Charging Cost: By using solar, you only miss out on the ~5c/kWh feed-in tariff. Your cost is now just $112.50.
That's an annual saving of $675. Contact your installer for a personalised payback estimate based on your solar system size and EV usage.
Key Takeaway: Disable "Battery Charge EVC" in your inverter settings to protect your home battery, and calculate your specific payback period to see just how quickly your investment will turn into pure savings.
FAQ
Table of Contents
Last News
Explore expert insights, practical guides, and the latest news on SolaX Power.



To the Latest Newsletter
Stay Ahead with the Latest SolaX Updates!
Sign up
I have read and agree to Privacy Policy and User Terms